STEP 1 — READ THE SIGNAL PATH
The rack layers glow in sequence as the objective names them: patch panel → PoE switch → NVR. Port 07 is called out as the target. Click the rack to open it.
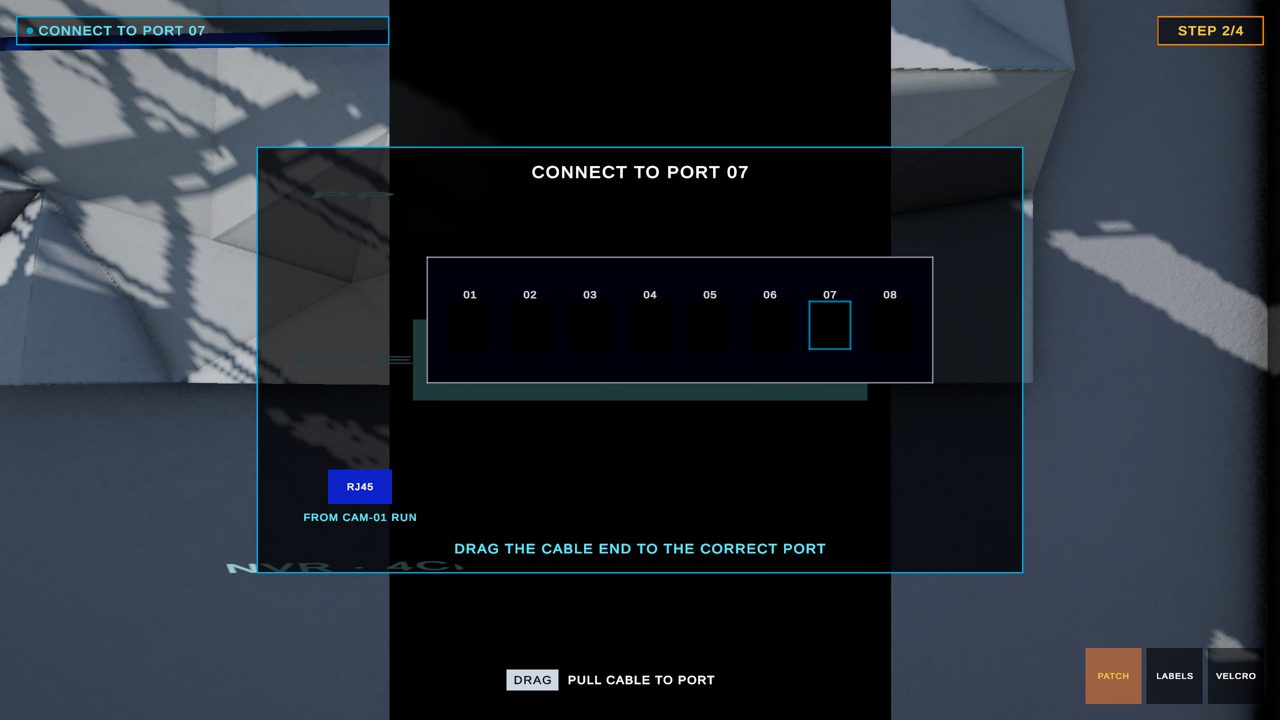
STEP 2 — CONNECT TO PORT 07
Drag the cable end across the switch face — a glowing path follows your cursor and the correct port pulses. The port map confirms 07 · CAM-01 · PoE+ · 15.4 W AVAILABLE before it clicks in.
STEP 3 — LABEL & DRESS THE CABLE
Type a label (the course pattern CAM-01_DOCK-N is suggested, anything is accepted) and snap velcro ties along the run. The dressing meter rewards tidy routing.
STEP 4 — RACK LIVE
Link LEDs go green, the checklist completes — patched / labelled / link+PoE up — and the PoE budget bar shows 68 / 120 W of real headroom math.
FROM THE COURSE
Rack patching and cable management; PoE budgets (15.4 W per PoE+ port against the switch's 120 W total). You'll meet the same headroom math on every real site.