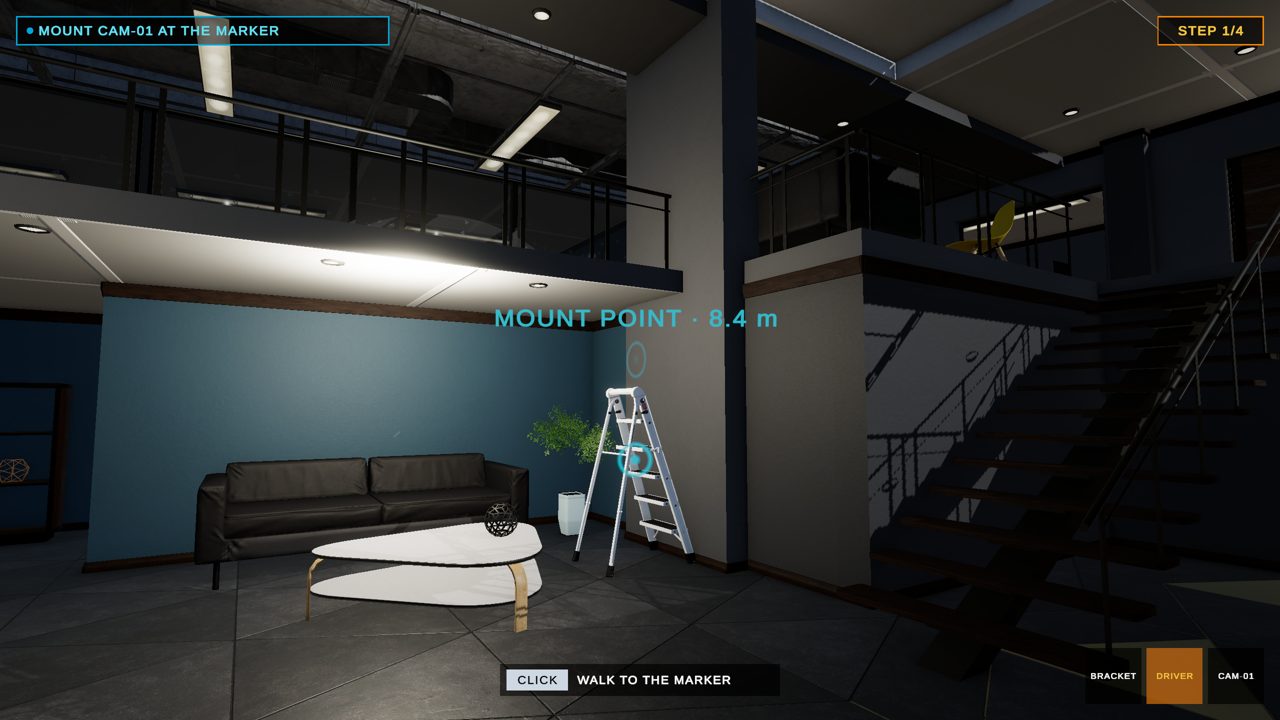
STEP 1 — FIND THE MOUNT POINT
A pulsing wall marker with a live distance tag guides you across the office — markers always draw on top of geometry so you can never lose them. Click the floor to walk, click the ladder hotspot to climb.
STEP 2 — FIX THE BRACKET — KEEP IT LEVEL
The bracket starts tilted. Click to snap it level (the guide label flips to LEVEL OK), then hold the button while the two screws visibly sink into the wall as the radial ring fills.
STEP 3 — AIM — THROUGH THE CAMERA ITSELF
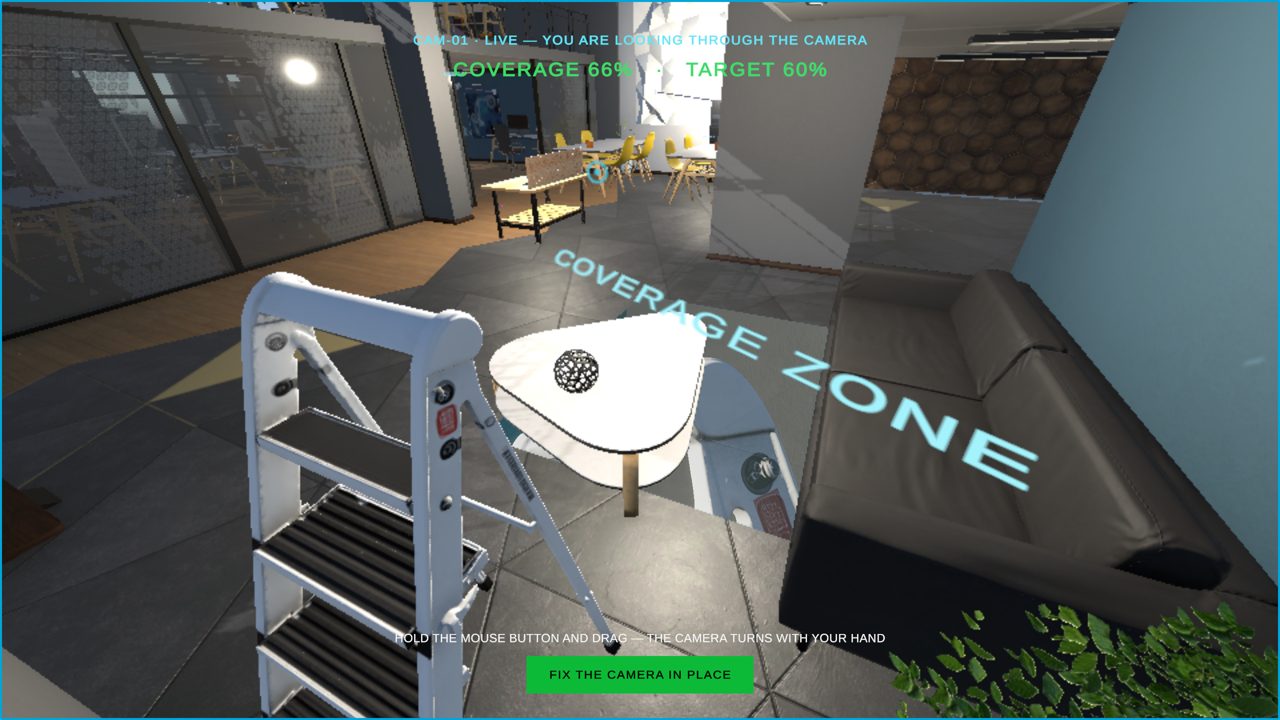
Click the mounted camera and the whole screen becomes its live view. Hold and drag — the camera turns with your hand — until the COVERAGE readout beats the target. No sliders, no abstraction: you are the camera.
STEP 4 — FIX IT IN PLACE
When coverage beats the target the green button unlocks. The camera LED goes green, the completion toast shows your score, and +120 XP lands.
FROM THE COURSE
Installation process → camera mounting; lens coverage and field of view. The coverage target accounts for real furniture occlusion — a sofa in the zone blocks sightlines exactly like on site.