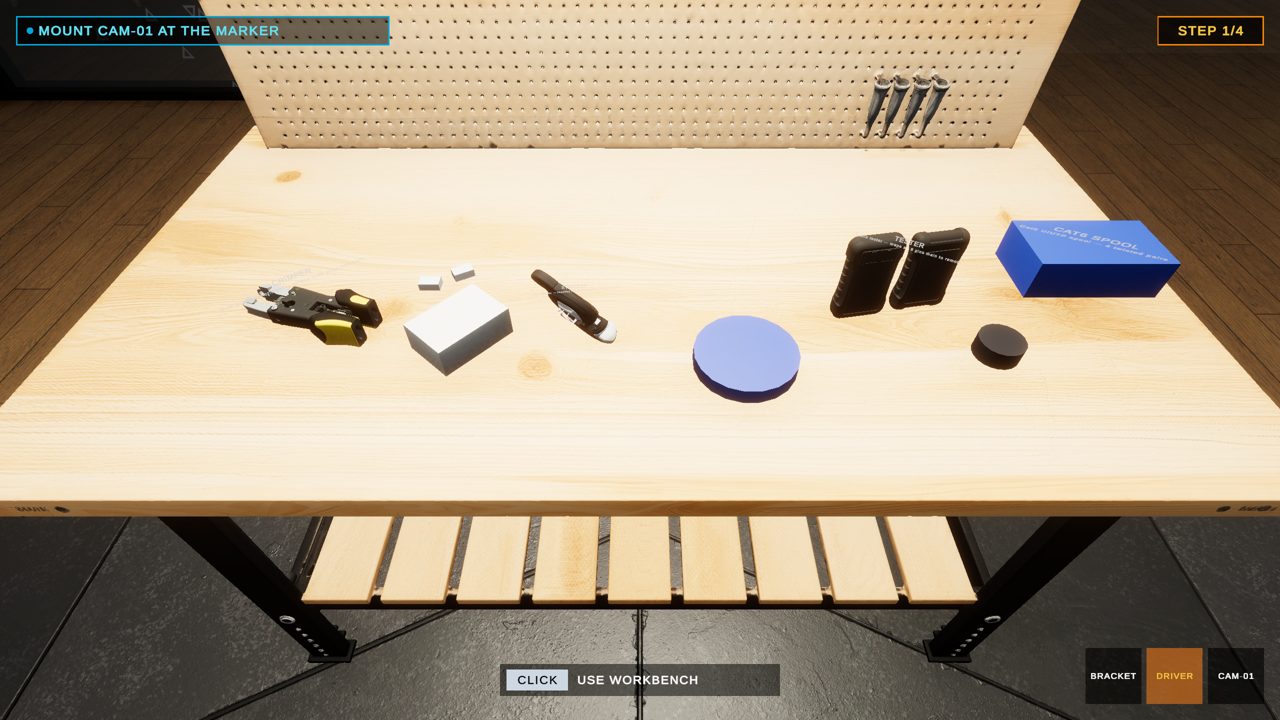
STEP 1 — INSPECT YOUR TOOLS
Walk to the bench: every tool shows a hover-card naming it exactly as the course does — multi-functional crimper, cable stripper, cable tester. Click the bench to begin.
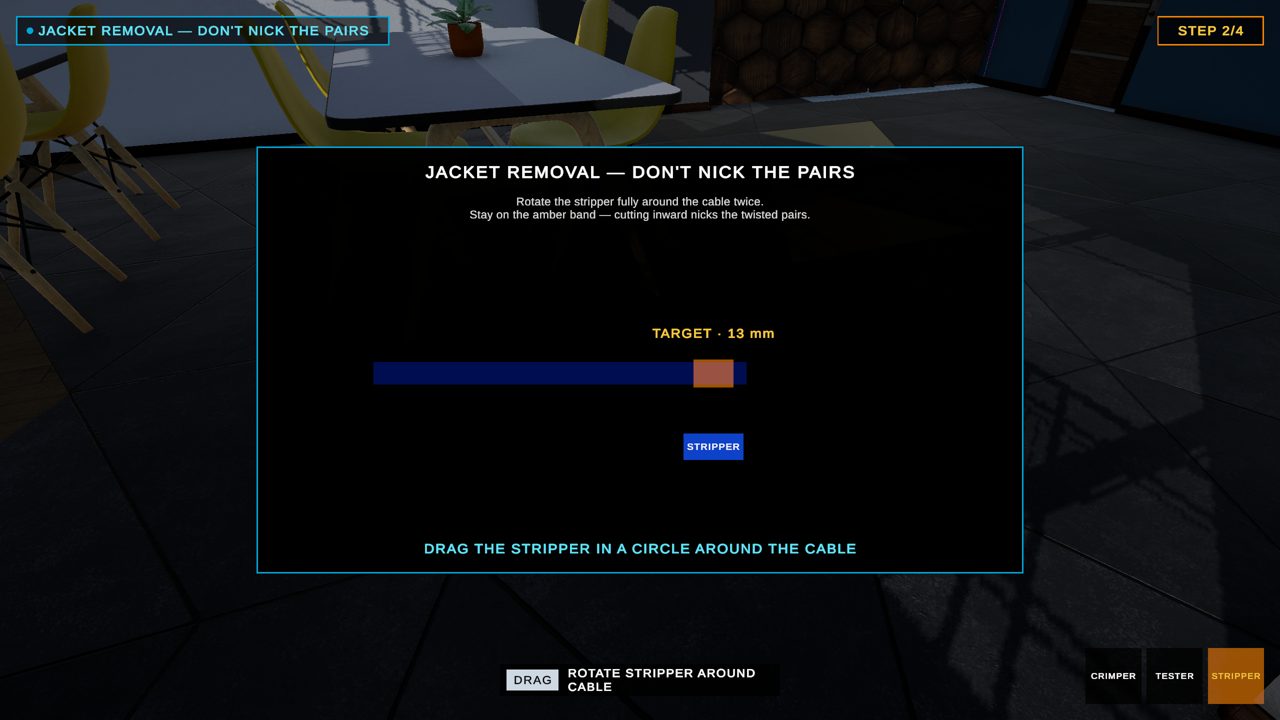
STEP 2 — STRIP THE JACKET — 13 mm
Close-up on the bench. Drag the stripper in a circle around the cable; a gauge counts to 13 mm. Cut too deep and you nick the twisted pairs — the cable end regenerates and you try again.
STEP 3 — ORDER THE CONDUCTORS — T568B
Drag the eight colored wires into the clear RJ45 plug against the pinned reference card: white-orange, orange, white-green, blue, white-blue, green, white-brown, brown. Wrong pins outline red with a precise hint like SWAP 5 & 6.
STEP 4 — TEST THE CABLE
Both ends into the tester: LEDs light 1→8 in sequence with sound. A straight-through map earns PASS and +150 XP.
FROM THE COURSE
Cabling & tools chapter: T568B wiring standard, jacket stripping length, crimp technique and continuity testing. The tester UI you learn here comes back in Activity 04 as a real diagnostic tool.